
You’ve finished a cross-stitch piece. Now what? Most stitchers get to “now what” and the project goes in a drawer. Off-the-shelf frames don’t fit the work, custom matting and framing runs $80–$150 at a frame shop, and the piece sits unmounted for years.
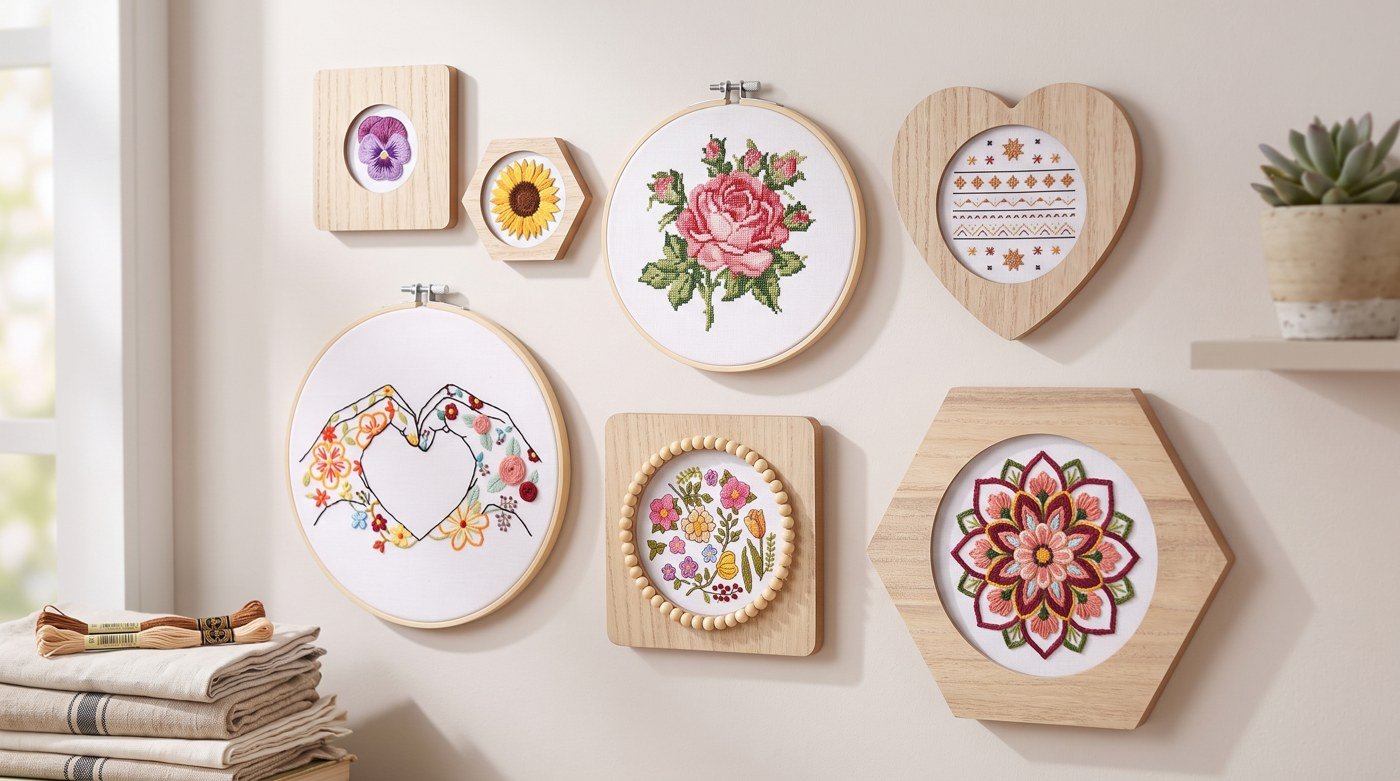
Bucilla makes a small line of solid-wood hoop display frames that solve this exactly. A Bucilla hoop frame is a decorative wood-veneer shape — square, hexagon, circle, heart, or beaded circle — with a cutout sized to hold a standard 3-inch, 6-inch, or 8-inch embroidery hoop containing your finished stitched piece. The hoop with your work drops into the wood frame, the whole thing hangs on a wall hook, and the finished display looks intentional.
This article walks through every Bucilla hoop frame in the line, explains the three size tiers and four shapes, shows you how to mount the hoop into the frame, and gives you a starter pick at the end.
What a Bucilla hoop frame actually is
To be clear about the format, because it confuses first-time buyers:
- The embroidery hoop is the round (or oval) tensioning tool you stitch with. Bucilla sells these as part of some kits; you can also buy standalone hoops at any craft store. Standard sizes are 3″, 6″, and 8″ diameter.
- The Bucilla hoop frame is a decorative wood-veneer shape — flat, like a picture frame — with a circular cutout in the middle sized to fit a specific hoop diameter. The hoop holding your finished piece sits inside that cutout.
- The result is a hooped embroidery (warm, tactile, hand-stitched feel) surrounded by a clean wood frame in your choice of shape (geometric, modern, or whimsical).
The wood veneer finish on the frame is intentionally raw — designed to be painted, decoupaged, stenciled, or left natural. The frame is also the gift-ready format if you’re finishing a stitched piece as a present.
The line is manufactured by Plaid Enterprises, Bucilla’s parent company, which has been making arts and crafts supplies since 1976.
The Bucilla hoop frame lineup — by hoop size
There are three size tiers in the line, matched to the three standard embroidery hoop diameters.
For 3-inch hoops (small projects, My 1st Stitch finished work)
These are the small frames — designed to display the smallest finished pieces, including the My 1st Stitch / Beginner Mini series cross-stitch kits.
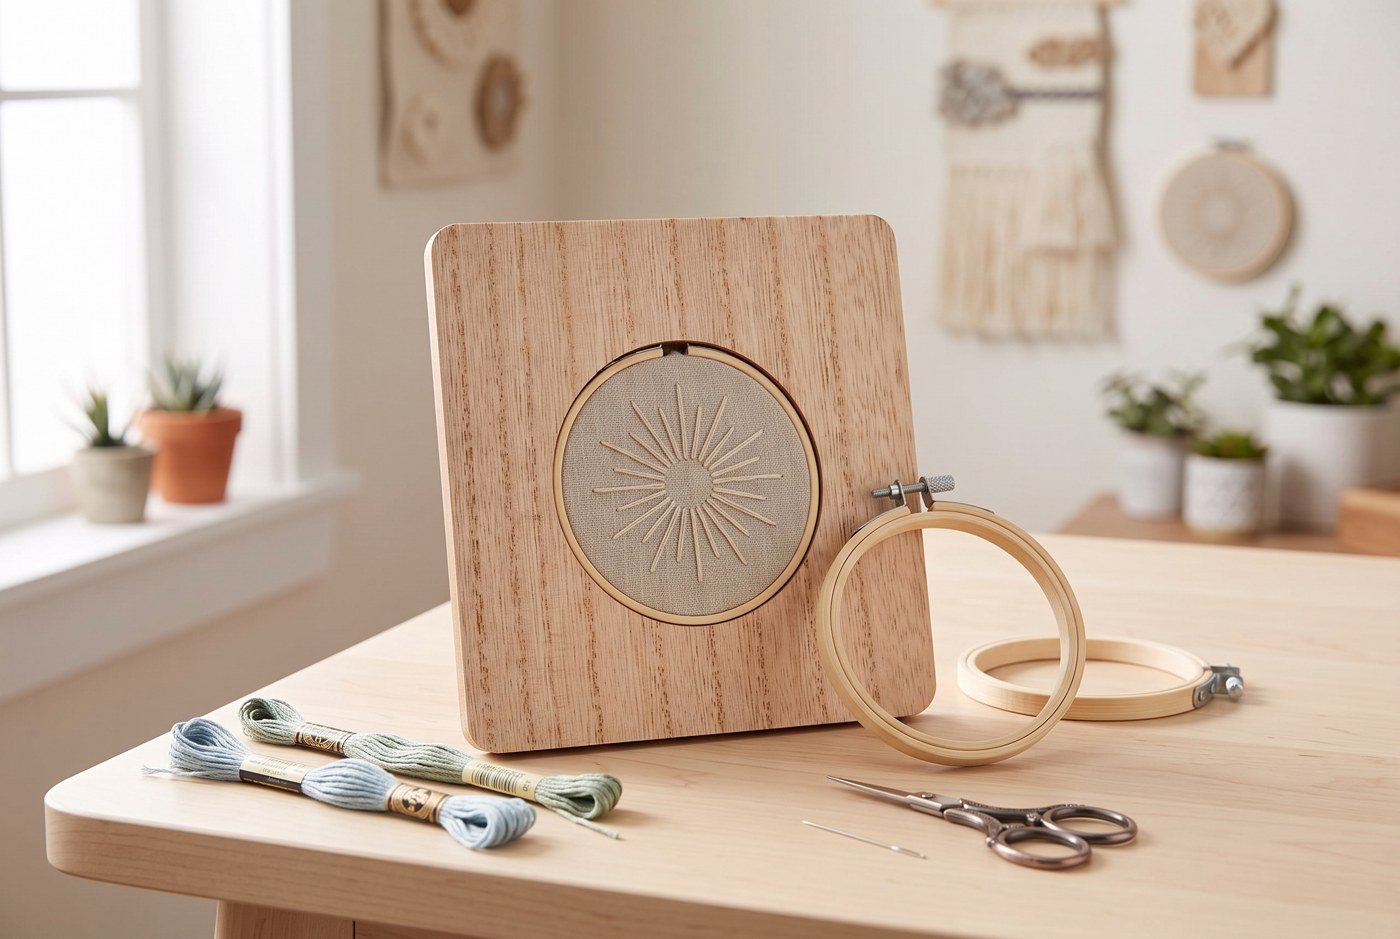
- Square Hoop Frame, small (49558E) — 4.75″ × 4.75″ frame, wood veneer
- Hexagon Hoop Frame, small (49559E) — 4.75″ × 5.375″ frame, wood veneer
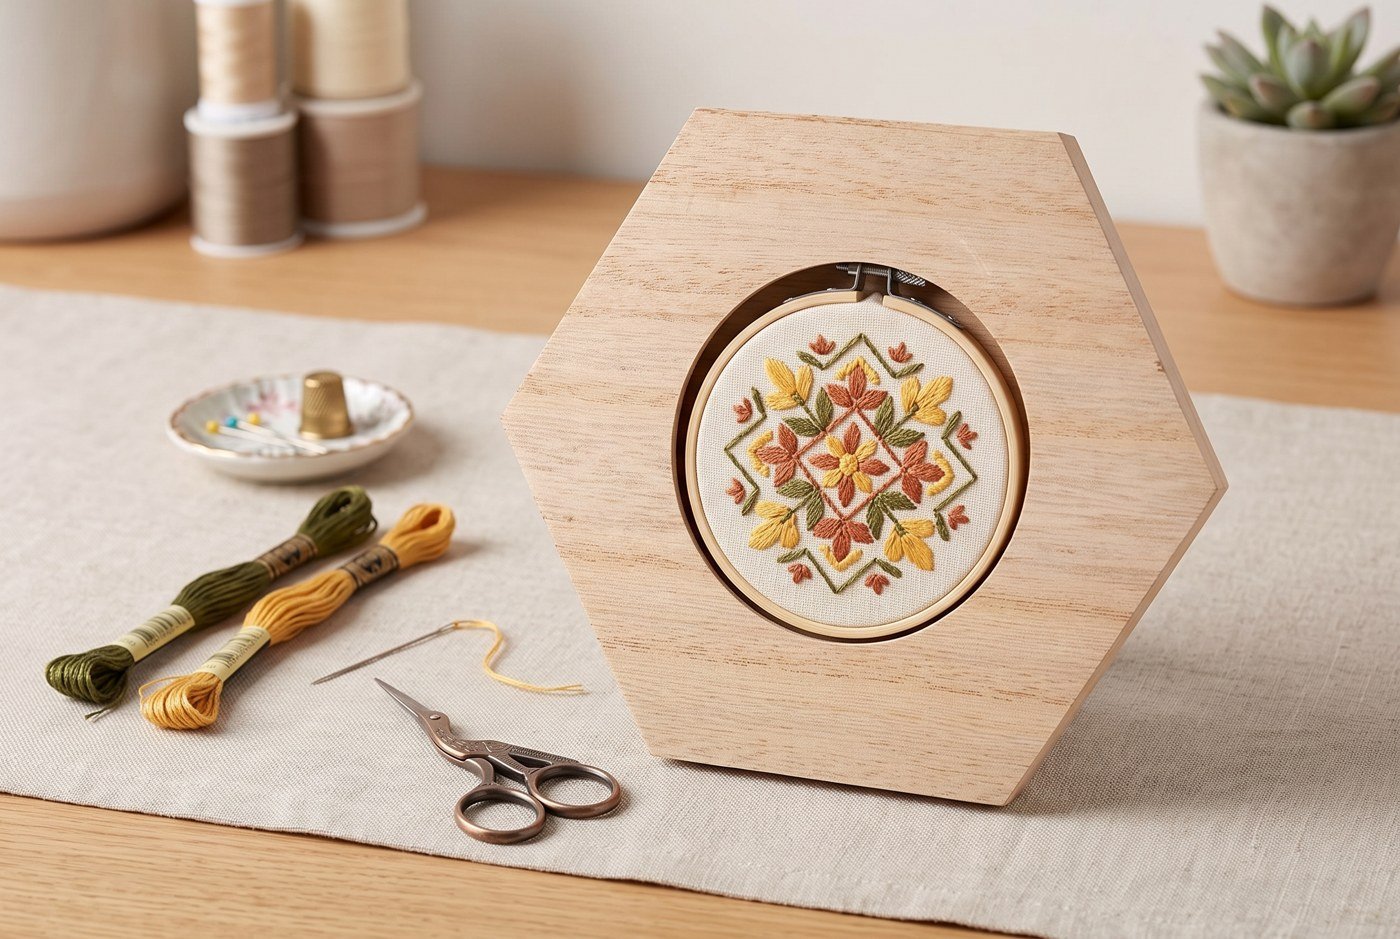
Both shapes are designed for a 3″ embroidery hoop. These are the cheapest pieces in the line and the right finishing accessory for the My 1st Stitch line — Heart Mini, Unicorn, Llama, and similar 3″ finished kits.
For 6-inch hoops (mid-size projects)
The deepest tier in the line. Four shapes for the same 6″ hoop size:
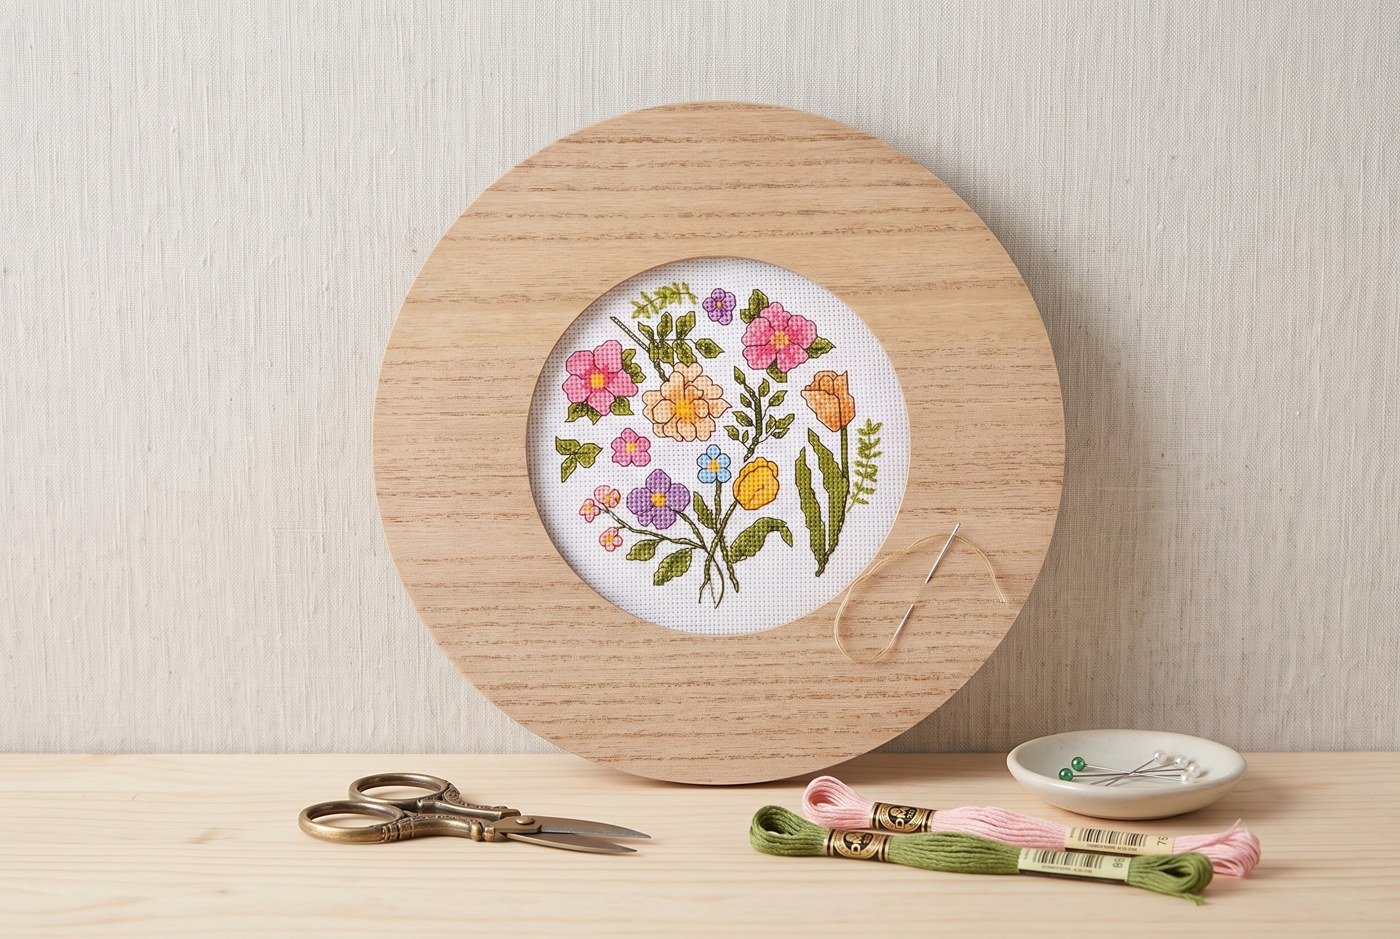
- Circle Hoop Frame, 6-inch (49560E) — 10″ × 10″ frame, wood veneer
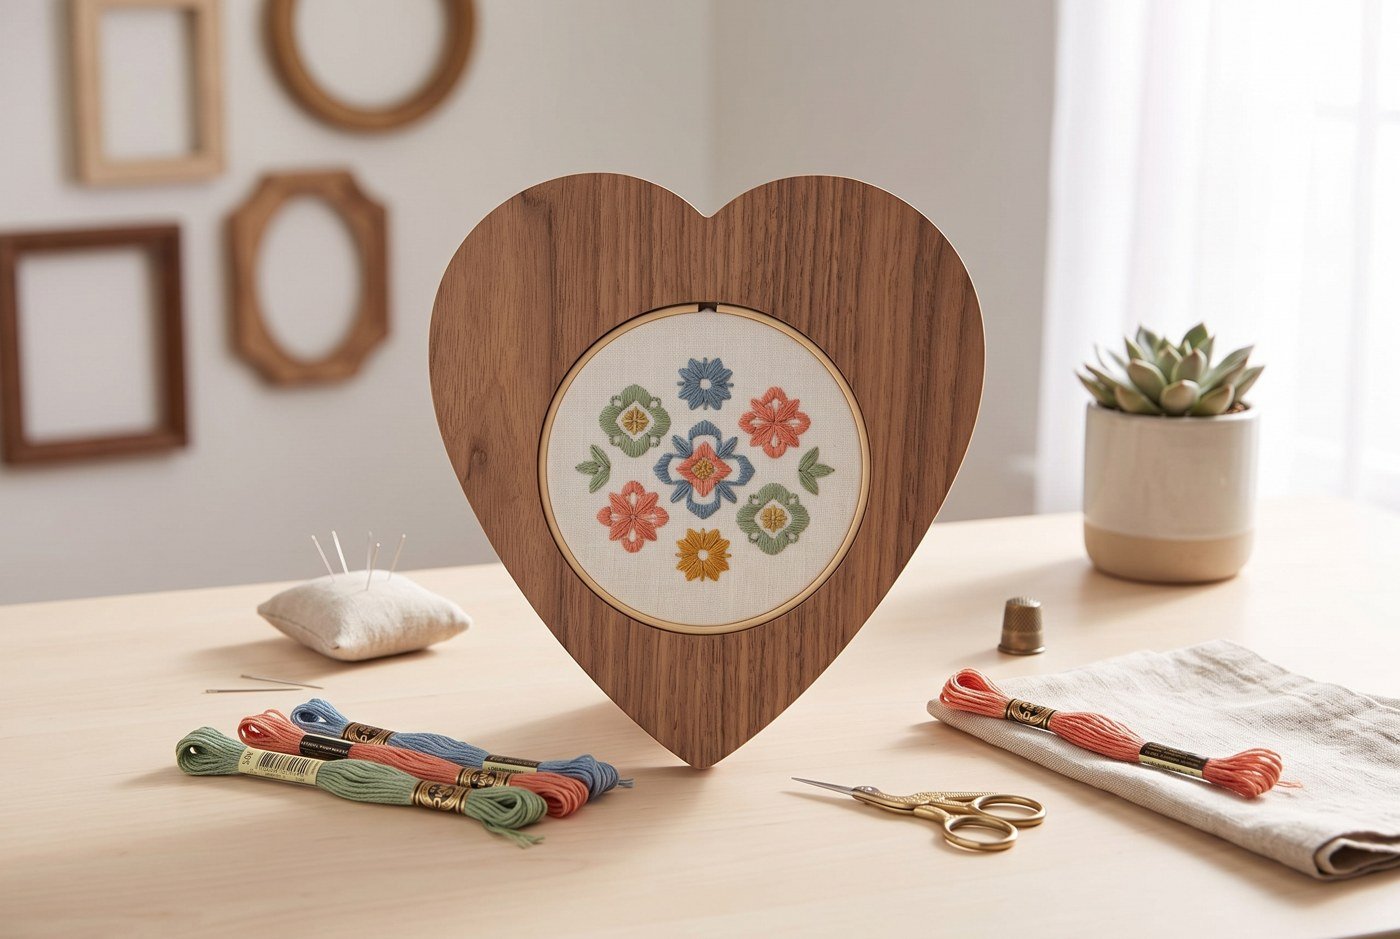
- Heart Hoop Frame (49561E) — 10″ × 9.5″ frame, wood veneer
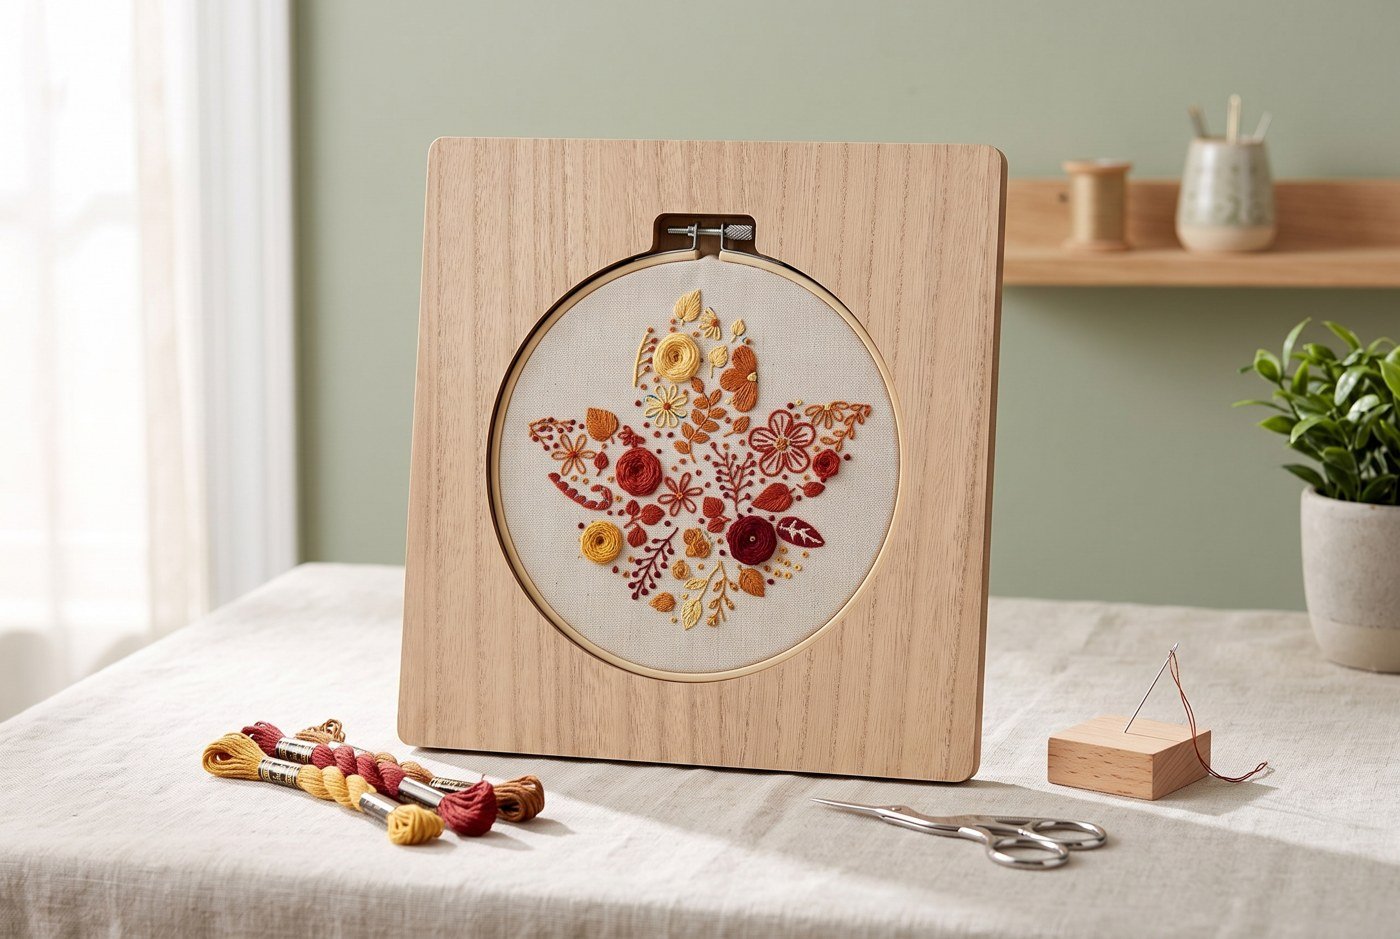
- Square Hoop Frame, 6-inch (49562E) — 9.5″ × 9.5″ frame, wood veneer
- Beaded Circle Hoop Frame (49563E) — 10″ × 10″ frame with a decorative beaded edge around the cutout, wood veneer
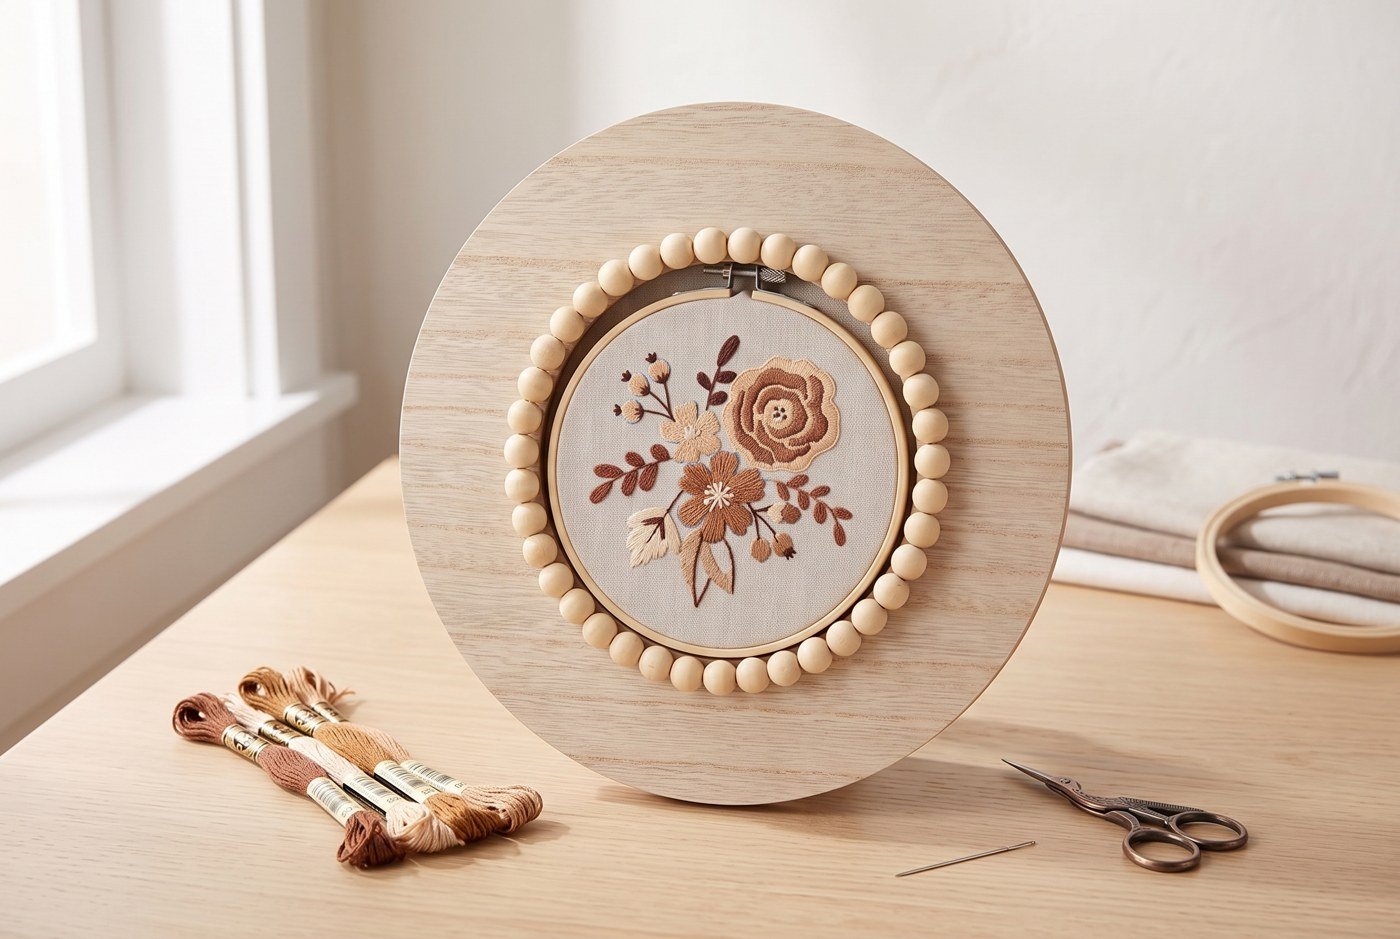
The Beaded Circle is the only frame in the line with a built-in decorative element — the rest are plain wood veneer ready to customize. Best for: a finished piece that already feels visually busy and benefits from a frame that adds presence without competing.
For 8-inch hoops (larger projects)
The bigger frames. Designed for stamped embroidery panels and larger stitched pieces.
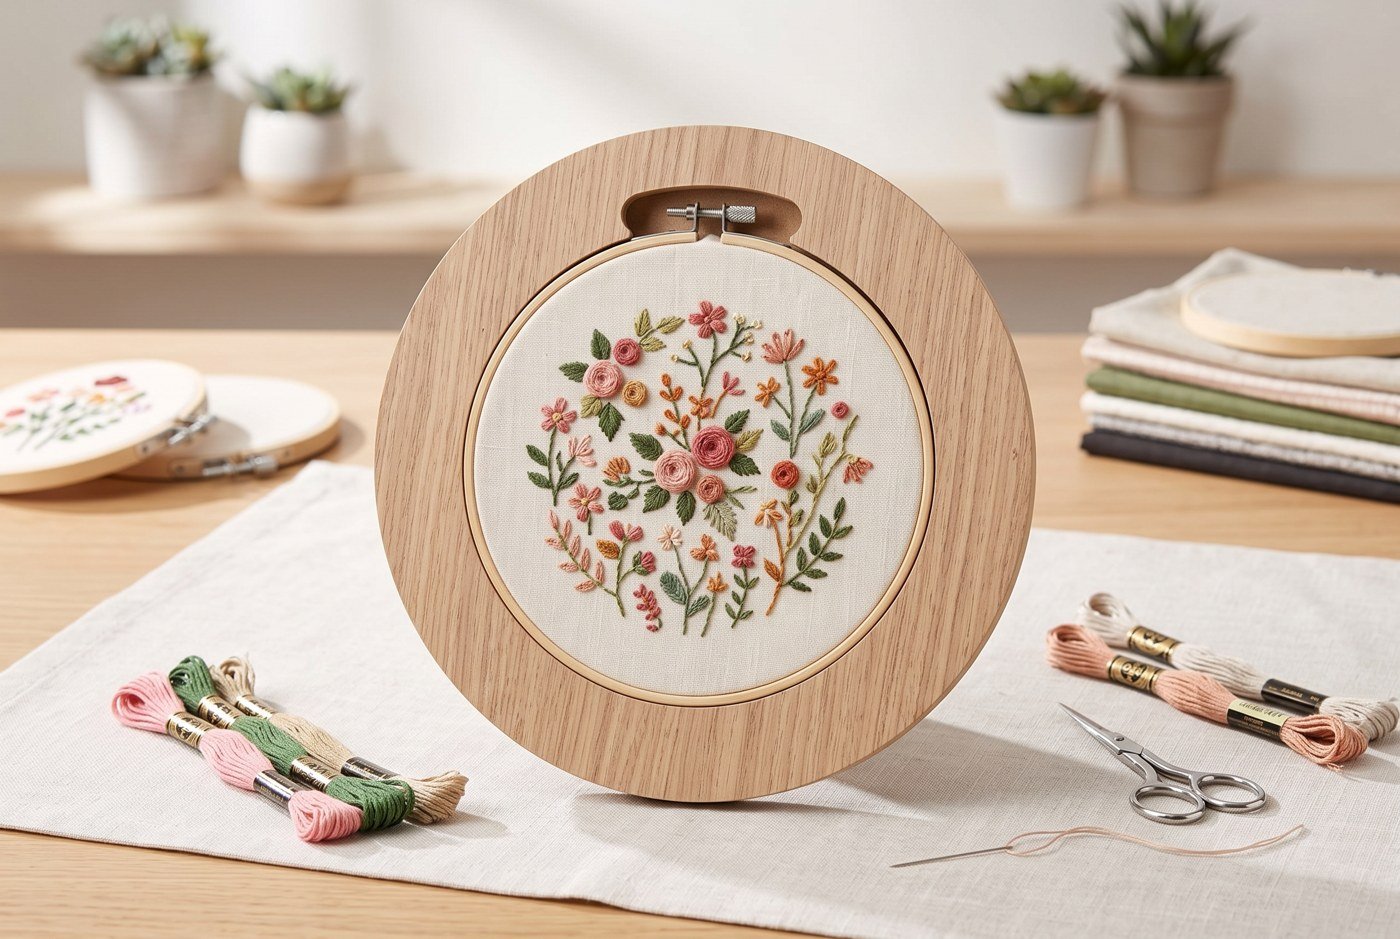
- Circle Hoop Frame, 8-inch (49564E) — 10.5″ × 10.5″ frame, wood veneer
- Hexagon Hoop Frame, large (49605E) — 12″ × 10.5″ frame, wood veneer
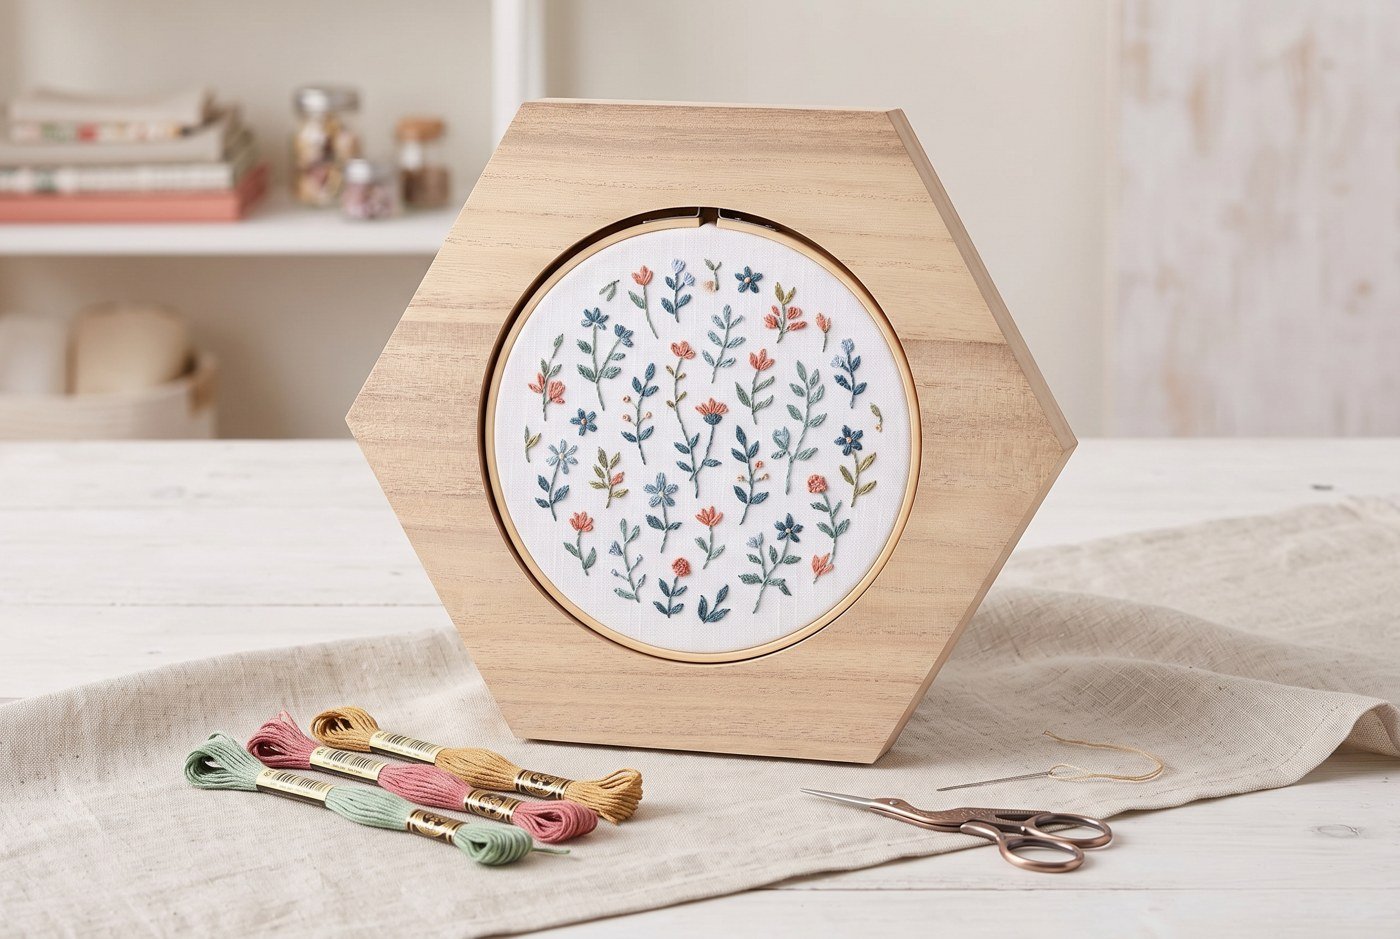
These are the right frames for Bucilla’s stamped embroidery panels like Pocket Full of Posies, Cherry Blossom Birdie, Autumn Foliage, or Golden Sunflower — most of which finish in the 6″–8″ range and look right in an 8″ hoop.
How to pick the right frame
The hoop diameter decides the frame size. The shape decides the aesthetic.
Step 1 — match the hoop size:
- 3″ hoop → 49558E (square) or 49559E (hexagon)
- 6″ hoop → 49560E, 49561E, 49562E, or 49563E
- 8″ hoop → 49564E or 49605E
Step 2 — match the shape:
- Circle — most traditional. Lets the hoop dominate. The right pick for a “this is hand-stitched” statement.
- Square — modern, balanced. Reads as gallery-style.
- Hexagon — geometric, slightly modern. Pairs well in groups of 3 or 5 (odd numbers).
- Heart — for sentimental pieces (Valentine projects, baby memorials, wedding samplers, a kid’s first project).
- Beaded Circle — adds a decorative border to a piece that needs the extra weight visually.
Step 3 — measure your stitched area before buying. The stitched design should sit comfortably inside the hoop with about half an inch of unstitched margin around it. If your finished stitched area is bigger than the hoop will hold without compression, you’re looking at the wrong size.
How to mount your stitched piece into the hoop and frame
The procedure isn’t complicated but the first one takes longer. Here’s the sequence:
- Wash and press the finished piece. A gentle wash in cool water with mild detergent removes oils, dust, and any visible washable-ink marks. Air-dry flat. Iron face-down on a clean towel with the iron on the cotton setting. This step is the difference between a frame that looks finished and one that looks rumpled.
- Lay the inner hoop ring on a flat surface. This is the smaller ring without the tightening screw.
- Center the fabric face-up over the inner ring. Take your time. The stitched design should sit dead-center.
- Press the outer hoop ring (with the screw) down over the fabric and inner ring. The fabric is now sandwiched between the two rings.
- Tighten the outer ring’s screw evenly. Don’t crank it tight all at once — pull the fabric taut a half-inch at a time around the perimeter, then tighten the screw a quarter-turn, then pull again. The fabric should be drum-taut with no visible puckering.
- Trim the excess fabric from behind. Cut close to the outer hoop ring, leaving about a quarter-inch of fabric all the way around.
- Place the hooped piece inside the Bucilla wood frame. The hoop sits in the cutout. Most frames hold the hoop with friction and the natural lip; if yours feels loose, a small dab of craft glue between the hoop and the frame secures it.
Two back-of-the-hoop finish options
The back of the hoop is visible from behind if the piece is freestanding. Two ways to finish it:
- Felt back. Cut a circle of felt slightly smaller than the outer hoop ring and glue it to the back. Hides the trimmed fabric edge. The cleanest standard finish.
- Fabric back. A second piece of coordinating fabric, glued or hand-stitched around the back. More work, more polished look. Right for gift pieces and heirloom display.
For wall-mounted display (the more common case), the back doesn’t matter visually because nobody sees it.
How to hang a finished hoop frame
The Bucilla wood frames are designed to hang flat against a wall. Three options:
- Small picture hook through a small loop of cord glued or stapled to the back of the wood frame
- 3M Command adhesive strips for renters or anyone who doesn’t want to nail
- Decorative ribbon loop stapled to the back of the wood frame for a more handcraft-y look
The whole assembly (hoop + fabric + wood frame) weighs under half a pound. Any wall fastener handles it.
Combining multiple hoop frames in a gallery wall
A row or grid of hoop-framed pieces is a strong Pinterest-friendly wall display. Some practical guidance:
- Mix sizes, not too many shapes. Pick one or two shapes (all hexagons, or hexagons + circles) and three sizes. Too many shapes reads as cluttered.
- Spacing. 4–6 inches between frames is the sweet spot. Closer than that reads as crowded; farther reads as disconnected.
- Anchor with one larger piece. A 12″ × 10.5″ hexagon (49605E) holding an 8″ finished piece anchors a wall display well, with smaller 6″ and 3″ frames around it.
- Odd numbers look better than even. Three frames, five frames, seven frames — easier to compose than two, four, or six.
What Bucilla kits pair with each hoop frame
Matching kits to frames helps the decision. Real pairings from the current Bucilla line:
- 3-inch hoop frames (49558E square, 49559E hexagon) — pair with My 1st Stitch / Beginner Mini finished pieces: 45457 Heart, 47816E Unicorn, 49176E Llama, 47908E Cactus (the Cactus uses its own jar-shaped frame, but the design fits in a 3″ hoop just as well). For a kid’s first finished piece that gets a “real” wall-display upgrade, this is the path.
- 6-inch hoop frames (49560E, 49561E, 49562E, 49563E) — pair with smaller stamped embroidery panels (47914E Pocket Full of Posies) and bigger My 1st Stitch finished pieces (47907E Greenhouse).
- 8-inch hoop frames (49564E, 49605E) — pair with bigger stamped embroidery panels (47917E Cherry Blossom Birdie, 49535E Autumn Foliage, 49547E Golden Sunflower) and the bigger counted CS pieces that finish in the 6–8″ range.
For the technique distinction and which kits use which technique, see Stamped vs. Counted Cross Stitch.
Time and skill for finishing
15–30 minutes per hoop once you’ve done one. The first one takes longer because you’re learning the wash-press-tension sequence. Once you’ve finished a piece this way, the next one is fast.
The finishing skill itself is genuinely beginner-accessible. Anyone who can iron and tighten a screw can mount a Bucilla hoop frame.
Beyond the Bucilla line — when to outgrow hoop framing
Hoop framing is the right format for finished pieces up to about 10″ in diameter (8″ hoop with comfortable margins). Beyond that — birth records (10″ × 13″), baby quilts (34″ × 43″), large samplers — you need a different finishing approach: matted-and-framed at a frame shop, stretched on stretcher bars, or quilt-finished with binding. Hoop framing doesn’t scale to that size.
For the larger finished pieces (Bucilla birth records especially), budget for archival framing — $80–$150 at a frame shop with acid-free mat and UV glass. A different cost and a different presentation, but the right call for a heirloom-grade piece.
Hoop frame FAQ
Can I use any embroidery hoop, or does it have to be Bucilla? Any standard wood or plastic embroidery hoop in the right diameter (3″, 6″, or 8″) fits the Bucilla frame cutout. The frame is designed for the standard hoop sizes, not specifically for Bucilla-brand hoops.
Does the frame come stained or painted? No. The frame ships in raw wood veneer, designed to be customized. You can paint it, stain it, decoupage it, or leave it natural. That’s the intentional design — wedding gifts get painted to match the couple’s palette, nursery pieces get painted soft pastels, gallery walls get left in raw wood for a consistent look.
Can I re-use the frame? Yes. Remove the hoop with one finished piece, tension a new piece into the same hoop, and slide it back into the wood frame. The frame outlives any individual stitched piece.
Will the fabric sag over time? Slightly, over years. Tighten the outer hoop ring’s screw every 6–12 months to keep the fabric drum-taut. The wood frame itself doesn’t sag.
Can I display a hoop frame outdoors? No. The wood veneer absorbs moisture and warps; the fabric mildews. Hoop frames are indoor wall pieces only.
Is the beaded edge on 49563E painted or actually beaded? The beading is a carved-and-finished decorative element on the wood veneer, not actual glued-on beads. It reads as a textured wood border.
What’s the difference between the small and large hexagon (49559E vs. 49605E)? 49559E is 4.75″ × 5.375″ and fits a 3″ hoop. 49605E is 12″ × 10.5″ and fits an 8″ hoop. They’re the same shape family at different scales — pick by the hoop size that fits your finished piece.
Pick your hoop frame
Three recommendations for different finishing scenarios:
- Best for a small first-finished piece: Circle Hoop Frame, 6-inch (49560E) — the most traditional shape, fits the widest range of stamped embroidery and counted CS pieces, the safest first frame purchase.
- Best for a decorative or gift piece: Beaded Circle Hoop Frame (49563E) — the only frame with a built-in decorative element, ready to gift without further customization.
- Best for a non-traditional shape: Hexagon Hoop Frame, large (49605E) — the most contemporary shape in the line; anchors a modern gallery wall.
The full hoop display lineup lives at the embroidery hoop displays category.
If you’re starting from the kit purchase, see the beginner kits guide for which Bucilla kits already include a plastic frame (so you don’t need to buy a separate hoop frame at all) versus which need the finishing accessory. For thread substitution while you stitch, see the Bucilla-to-DMC chart.
The finished piece on a wall is the part of the project that lasts. The frame is the difference between a stitched piece in a drawer and one your visitors notice.